The advent of tiles and the various modifications and improvements are essential in structural aesthetics as well as wall & floor finishing. Tiles are made from stone, ceramics or even glass, and they come in different shapes, quality, patterns, and colours. This versatility means tiles can be readily adapted to meet various building needs and specifications. These specs include reduced slippery bathroom floor, easy to wipe kitchen walls and attractive building floors.
Grouting represents the last step in tile installation after the tile adhesive has sufficiently cured. It involves sealing the space between adjacent tiles using grout to give an excellent outlook, prevent injuries and prevent materials from getting lodged in the crevices. It is a straightforward process. But as easy as it is, it can almost as easily be done wrong. This article will enlighten you about how to grout floor and wall tiles.
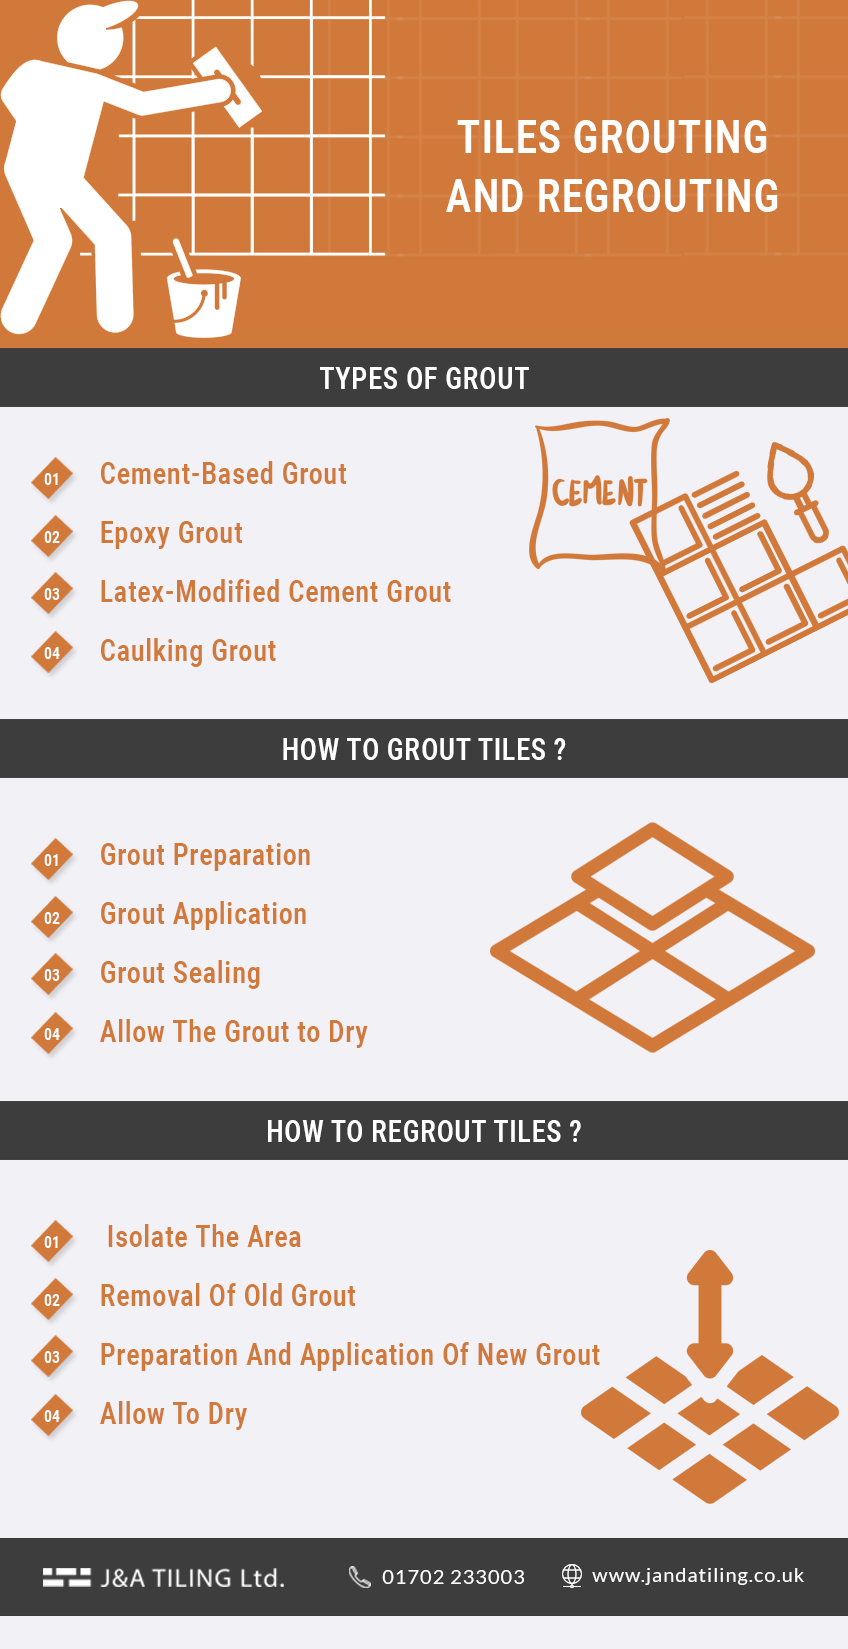
Types Of Grout
There are various types of grout available in your local DIY store or online stores. The difference is mostly the material the grout is made of. Listed below are the types of grout available:
- Cement-Based Grout: This is the most frequently used and readily available grout for DIY tiles installations. It is not the strongest grout available, but it is easy to work with. The best part is it is relatively cheap.
- Epoxy Grout: This is more durable than the cement-based grout and considerably more expensive than other types of grouts. It provides excellent waterproof resistance, and it is best recommended for use in countertops and bathroom.
- Latex-Modified Cement Grout: The poor water-resistance of the ordinary cement grout created the need to modify it. The latex-modified sand cement grout was introduced as an improvement with the added advantage of water-resistance as well as it’s bonding ability.
- Caulking Grout: This is used to reach tight spaces. It is applied using a hand-pressed tube or a caulking gun.
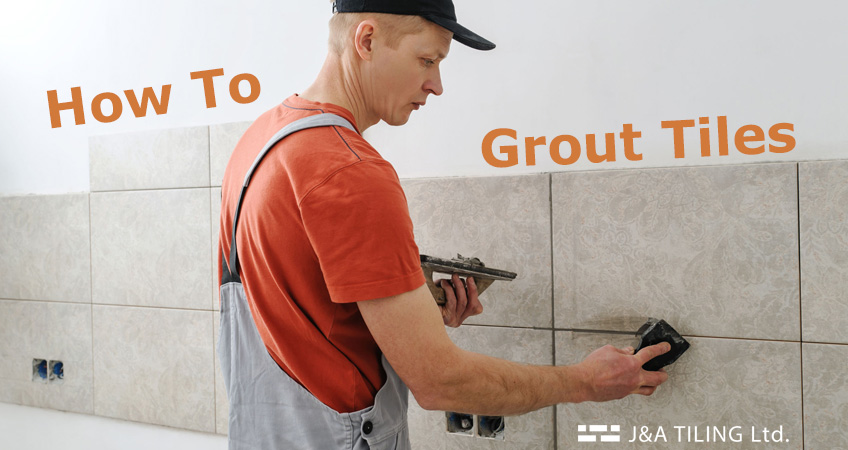
How To Grout Tiles – Steps
1. Grout Preparation
Grout should be in a paste-like form. So, if you get a powder type of grout, you have to add water in small quantity to make it into a paste. Stir it with a stick or any other suitable material. Keep stirring and adding more grout and water (if necessary) until it is consistent. You might be tempted to add more water to the grout to make it easier to use. Doing this will make the grout weak, so you should not.
2. Grout Application
Grout is applied within the spaces between adjacent tiles using a grout spreader or a squeegee. To prevent the grout from drying up before you apply it, we advise you to use small grout for a small area. However, if you can use the entire mix before it gets dried up while not rushing the job, you can go ahead and mix grout for the whole area.
Need Commercial Tiling Contractors – Call: 01702 233 003
We provide brick slip fitting & ceramic tiling services for commercial properties.
Usually, the estimated drying time comes on the grout’s pack, but generally, it will cure as soon as you apply it. So, you have to ensure it is well applied to the joints of adjacent tiles. Also, you must wipe spills and excess grout immediately after application to avoid messy work. After about 10 minutes, you can clean up again using a wet sponge or foam.
3. Grout Sealing
To make the joints waterproof, you have to seal the grout. It is crucial to acquire the appropriate sealer for the grouting. Read and understand the instructions before use. Apply twice to ensure it is adequately sealed. Grout sealers may deface some tiles, so it is expedient to clean up any spills immediately.
4. Allow The Grout Dry
Keep the site isolated till the grout is totally dry. You can then polish the tiles with a piece of fabric.
How To Regrout Tiles
Grouting increases the aesthetic appeal of tiles. However, depending on the colour and usage, it might progressively get unattractive and dirty-looking. At this point, no degree of cleaning can give you the beautiful look it once had. Some people would decide to replace the tiles. However, since the grout is the problem, you can just break it off and replace with new grout – time saved, energy saved, cost saved!
Regrouting can be easily carried out with a grout rake and elbow grease or with any other suitable tool from your local tool store.
Steps Involved In Regrouting
1. Isolate The Area
If you are working on the wall or countertop, you should cover the floor with a dust sheet to prevent the crusts from littering the floor. It would make clean up easier when you are done with regrouting. Also, cover sinks, drains, baths and basins to prevent the pieces from obstructing flow through the drain.
Ensure the room is well ventilated – open doors and window. Put on a nose mask if you cannot achieve sufficient ventilation. To prevent the specs of grout from lodging into your eye, wear a safety mask.
2. Removal Of Old Grout
You may improvise to remove the grout, but it is always better to use the grout rake. You can borrow or buy. There is also the option of an electric grout remover which would save you some energy especially if you have a wide stretch to cover. Insert the rake into the adjoining grout from the middle of the tile. Press down on the rake and run it through the grout slowly and carefully to avoid nibbling off the margin of the tile. When using an electric grout remover, however, you do not need to press down.
It is easy to miss out some lines of grout, so you have to go systematically. Start with either the vertical or horizontal first before moving on to the other. When you’re finished, make sure to clean off the grout specs.
3. Preparation And Application Of New Grout
When you are to use a powdered grout, mix just enough to be used before the grout hardens up which takes about 20 minutes. So do not mix all you need to use at once if you would be working for more than twenty minutes. Apply the grout into the junctions of adjacent tiles with a spreader.
4. Allow To Dry
Clean up any spill and keep the site isolated till the grout is totally dry. You can then polish the tiles with a piece of fabric.
Conclusion
Tiles are a beautiful and widely used floor, countertop, or wall finishing materials suited for various roles. The grout which lies between adjacent tiles might, however, downplay this role. This is why you should know how to grout and regrout your tiles properly.