When it comes to tiling a shower wall, it isn’t rocket science. It does, however, have some must-do requirements when it comes to preparation. With any form of workmanship around the house, preparation is absolute key is ensuring the task is done to the highest possible standard. We are going to walk, hand-in-hand through all the steps, you need to take when tiling a shower wall.
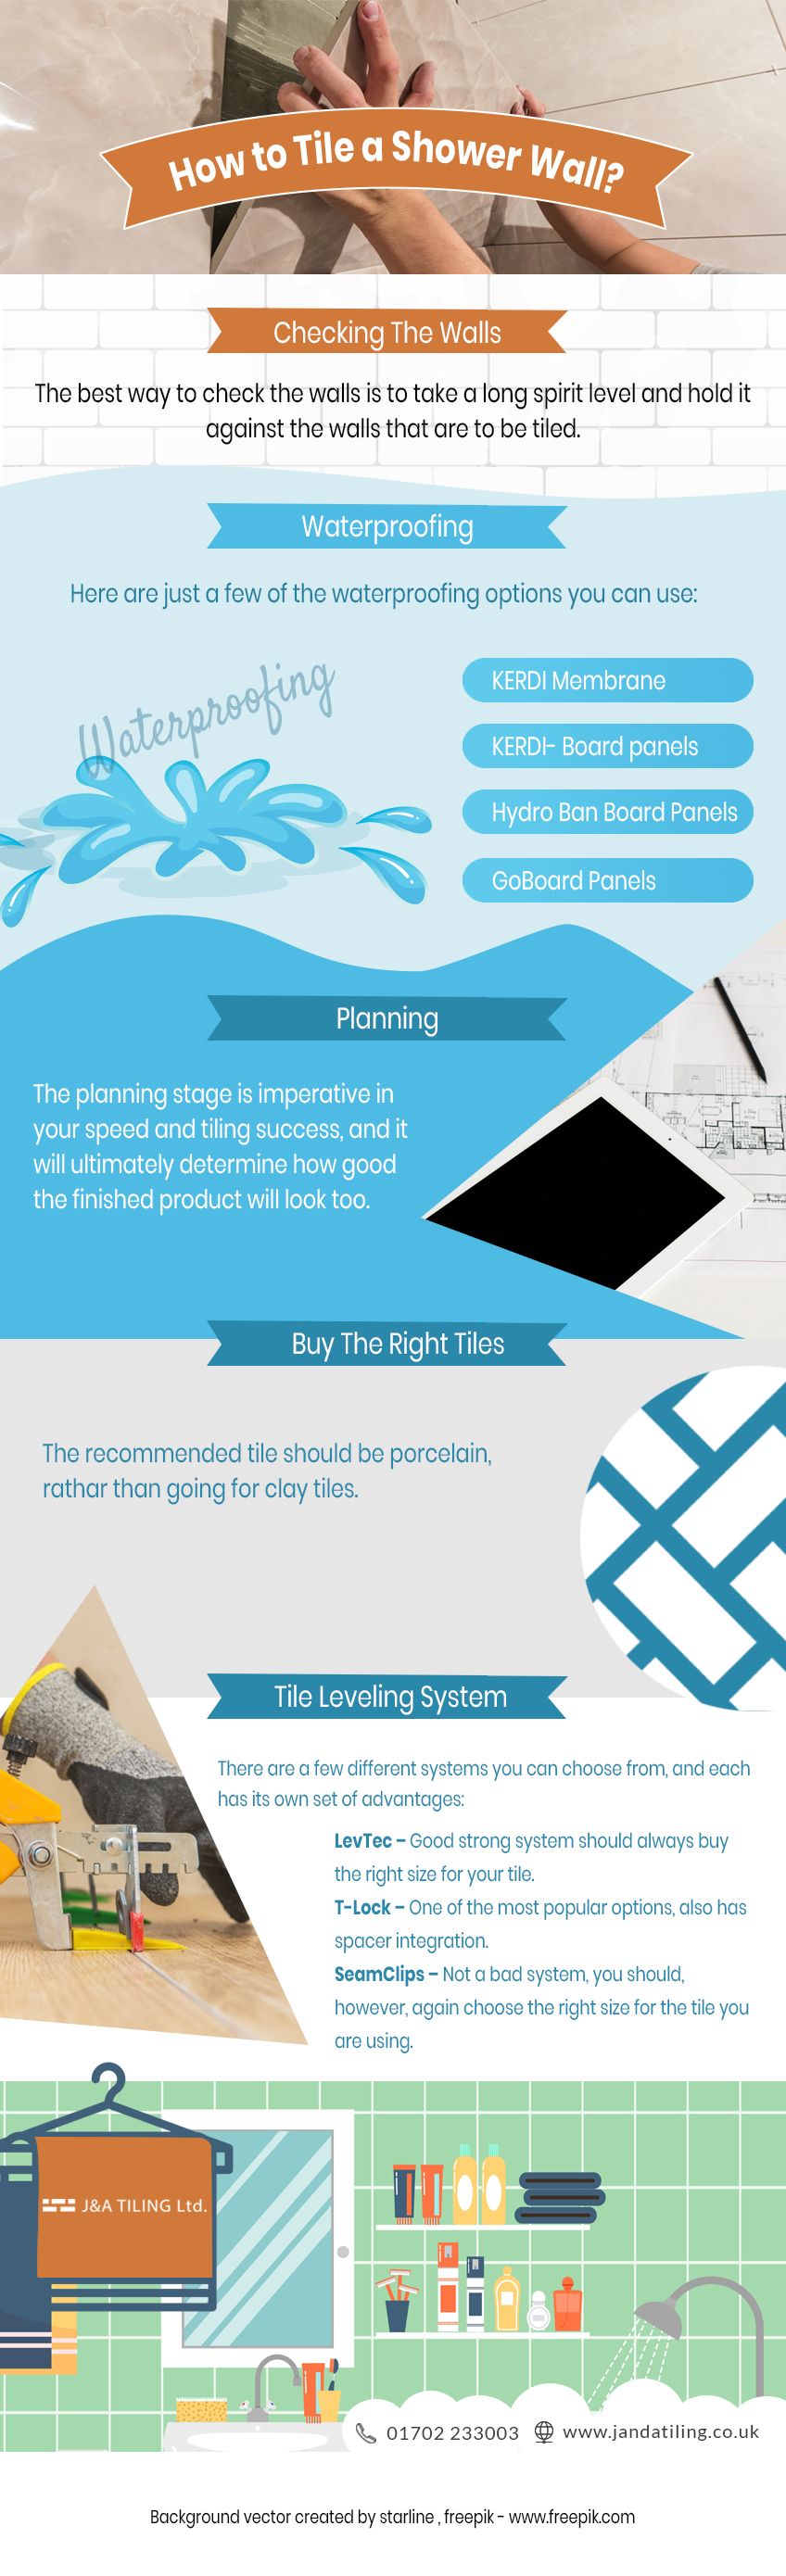
Checking The Walls
Prior to any work taking place, the checking of the walls is vital. There is nothing worse when it comes to tiling a wall than finding the wall is desperately uneven. The best way to check the walls is to take a long spirit level and hold it against the walls that are to be tiled. Holding the level on a horizontal, vertical and diagonal axis is the best way to determine the total level of the wall.
If the wall is not level, this will leave huge issues in not only the aesthetics of the finished job, and there will also be major waterproofing issues too. There are a few ways to fix an uneven wall, but the attachment of a new stud is about the easiest.
Waterproofing
Obviously, the one thing you do want out of your tiles is for them to be fully waterproof. After all, there will be some serious amount of water introduced to your new tile wall. One thing that should be remembered when waterproofing is this; waterproof materials and water-resistant materials are very different things. Here are just a few of the waterproofing options you can use:
- KERDI Membrane
- KERDI- Board panels
- Hydro Ban Board Panels
- GoBoard Panels
These are all amazing options when it comes to waterproofing. Being careful to avoid water-resistant backing is an essential step in the longevity of your tiling job. Not having the proper waterproofing ultimately ends up in high form mould.
Planning
We have all heard of the six P’s (prior planning and preparation prevents poor performance) this is still universally true with any home DIY task you undertake. The only things you will need for this step are a pencil, some paper and your brain.
The planning stage is imperative in your speed and tiling success, and it will ultimately determine how good the finished product will look too. Planning your layout is essential for two reasons. First, you will have a plan to follow, a second it will help prevent offcuts in the ceiling and corners of the shower.
For Commercial Tiling in Essex – Call: 01702 233003
There is nothing worse when looking at a finished tiling job and seeing all cuts were made at the ceiling level; you preferably want over half of the tile size and no less at the ceiling level.
The only real requirement to making sure your tile layout it great, an understanding of the requirements and a tape measure.
Buy The Right Tiles
If you want a great finish and the best possible finish, ensure you are purchasing a good quality tile. The recommended tile should be porcelain. Although clay tiles still seem to hold some popularity, they can easily crack. When clay tiles crack and chip, they leave an ugly look behind the chip.
Another issue with clay tiles is when it comes to making your cuts. Getting the same sharp finish, you can get with porcelain just is not possible. A solid porcelain tile would serve you better, especially for longevity and definitely in its aesthetics. Porcelain tiles are overall more consistent with colour, and the overall construction is a lot better.
Tile Leveling System
Although not something that everybody swears by, the tile levelling system can be so helpful, especially for those out there with not a lot of tiling experience.
With tiles becoming larger and laced with mild imperfections, even experienced tile fitters are coming across issues nowadays. The issues arise due to the size, imperfections and weight of the larger tiles. A tile levelling system serves to aid with any tile imperfection. There are a few different systems you can choose from, and each has its own set of advantages:
- LevTec – Good strong system should always buy the right size for your tile.
- T-Lock – One of the most popular options, also has spacer integration.
- SeamClips – Not a bad system, you should, however, again choose the right size for the tile you are using.
These are just a select few systems, finding what works best for the tile you are using would always be the best advice.
Working With Larger Tiles?
With larger tiles, one of the worst possible things that can present itself is lippage. Lippage is generally found within larger tiles as they tend to bow towards the middle of the tile. When placing the tiles adjacent to each other, this causes a lip between the two married lines.
Combining a staggering of the tiles and a tile levelling system can help to reduce this lippage completely and give you an amazing finish.
Thinset
Choosing the right thinset for your tiles is also very important. Thinset is an adhesive mortar that is made up using sand, cement and an additive like alkyl. Thinset is simply put what is used as an adhesive to stick your tile to the wall.
When choosing this adhesive, you should choose based on your backing. It is not as simple as a basic recommendation. Doing some research based on what you will be tiling to will always give you the best possible results.
Grout Joints
One of the most important things when it comes to tiling is the grout joint. The grout joint is the final piece of the puzzle that will display your workmanship in its final form. Having a wide grout joint can just look ugly.
Having grout joints between 2mm & 3mm is perfect for keeping the look tidy and maintenance at its lowest. You may also find a little expansion of 1-1.5mm, so keeping the joints tight is important.
One thing you should pay attention to with your smaller grout joints is, yet again lippage. Taking your time and carefully watching the lips, can make the maintenance of the tiles far less and your job seem far more professional.
Grout
There are so many grouts to choose from out there, knowing which one to buy is an absolute minefield. We will, of course, make a few recommendations of grout but this will always again, come down to preference.
The most recommended type of grout, however, should be a premixed solution. Mixing grout yourself can see many issues arise. Imagine mixing three different batches of grout from its base level. The most common thing that will happen is inconsistency. Having inconsistent grout can ruin your hard work and make your beautifully tiled wall look ugly. Some recommended ready mixed grouts are shown below:
- Hemway Ready Mixed
- Unibond Ready To Use
- Mapei Waterproof
- Flexcolour Ready Mixed
Get Cleaning
The final stage will allow you to enjoy the fruits of your hard work. After a 24-hour drying process, you can now get ready to clean your tiles. One of the best things to attack tiles with is Cif and a mildly abrasive sponge. The cleaning process may take some time, but after all of the work you have done so far, it will be worth it.
Read More: